Shout3D™ 2.0 - 3D Studio MAX Export Tutorial

start
previous
next
Shout3D™ 2.0 - 3D Studio MAX Export Tutorial
|
|
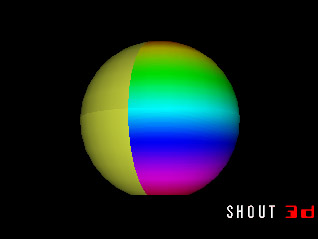
Applying a Texture MapYou'll find a bitmap named spectrum.jpg in the models/images/shared directory. Using a UVW Mapping modifier and the Material Editor, apply this image to one of the two halves as a planar projection. Make sure it's working in MAX before exporting. Open the exported .s3d file in a text editor and look for the diffuseMap field. Notice that there is no path to the image file � just the filename. This would work only if the image was in the very same directory as the .s3d file. Edit the Save the .s3d file and preview with the Wizard to make sure that bitmap is being displayed. Your Shout3D viewer should look something like the image on the right. Note that the specular highlight added in the previous step is gone because it was not part of the MAX scene. |
|
![]()
Copyright� 1999-2000, Eyematic Interfaces, Inc.